Setting up HTTPS with Let's Encrypt
In the previous post I provided a brief overview of Let's Encrypt, a service (currently in public beta) intending to expand the use of HTTPS by providing free certificates and a client to automate most of the work involved with obtaining, installing and renewing the certificates. In this post I step through the process of using Let's Encrypt to set up HTTPS on this site.
Overview
At the time of this writing I am hosting jodyboucher.com on a DigitalOcean VPS. The host is running Ubuntu 14.04 and Apache 2.4.7. In order to complete this procedure for your website you will need command-line access via SSH and you will need to be able to execute commands with a superuser capable sudo user account.
It is worth pointing out here that the certificates provided by Let's Encrypt are domain-validated certificates. The certificates enable encrypted communication between the validated domain and the client. Let's Encrypt does not issue Extended Validation (EV) certificates and these types of certificates will likely not be offered.
Obtaining the Let's Encrypt client
Let's Encrypt is still in beta and hasn't yet made its way into most package managers, so you'll likely have to clone the git repo. You can get the client using the following steps.
Install git
The first thing you'll need to do is make sure you have git installed on your server. Log in to your server and execute git --version. If git is installed it will respond back with the installed version number. Otherwise you will have to install the git client.
sudo apt-get install gitGet the Let's Encrypt client source
You can do this step as a regular user, placing the git repo in your current directory. Alternatively, you can put the source in a system location such as /opt/lets-encrypt. I'm gonna just go ahead and clone the repo into my home directory.
git clone https://github.com/letsencrypt/letsencryptSetting up HTTPS
Now that the repo is cloned to a location on the server you can proceed with obtaining and installing the cert. You'll again need the superuser capable sudo user to complete these steps.
Running the client
Let's Encrypt provides a wrapper script called letsencrypt-auto that takes care of downloading and installing the latest version of the client as well as any dependencies. Any command-line arguments supplied to letsencrypt-auto are passed through to the actual client. Be patient as it may take a few moments for the script to get everything in place.
# change to the directory the
# let's encrypt repo was cloned into
cd letsencrypt
# have the script get everything in place
# and display the 'help' output
./letsencrypt-auto --help
OK, lets go ahead an run the Let's Encrypt client for real. In my case I am running Apache and want to secure jodyboucher.com and www.jodyboucher.com.
./letsencrypt-auto --apache -d jodyboucher.com -d www.jodyboucher.comThe client will execute and you will be stepped through a few pages to collect some information. The pages will vary depending on the command-line arguments that were specified.
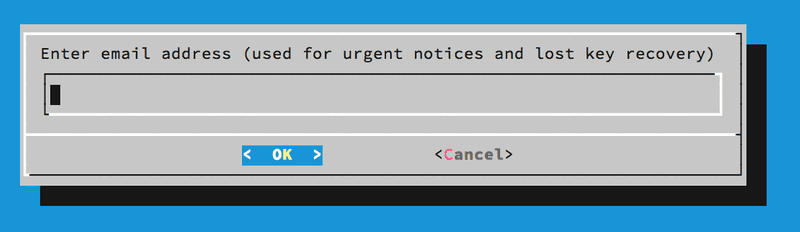 First page of Let's Encrypt client
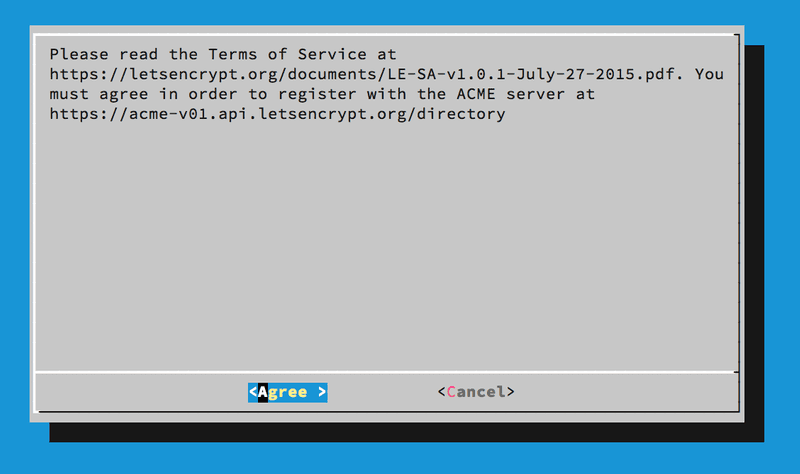 Second page of Let's Encrypt client
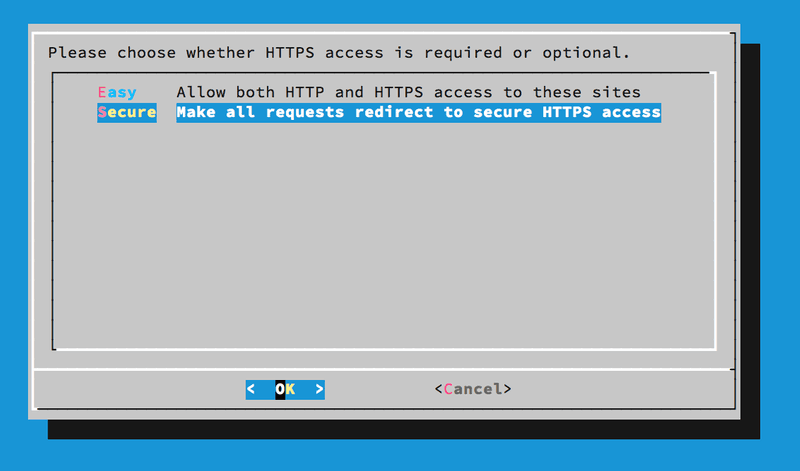 Third page of Let's Encrypt client
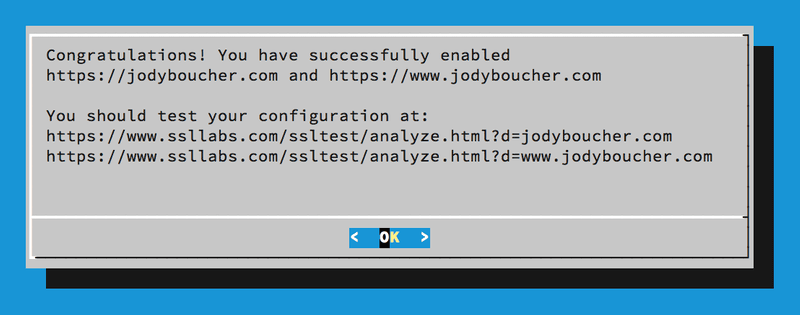 Fourth page of Let's Encrypt client
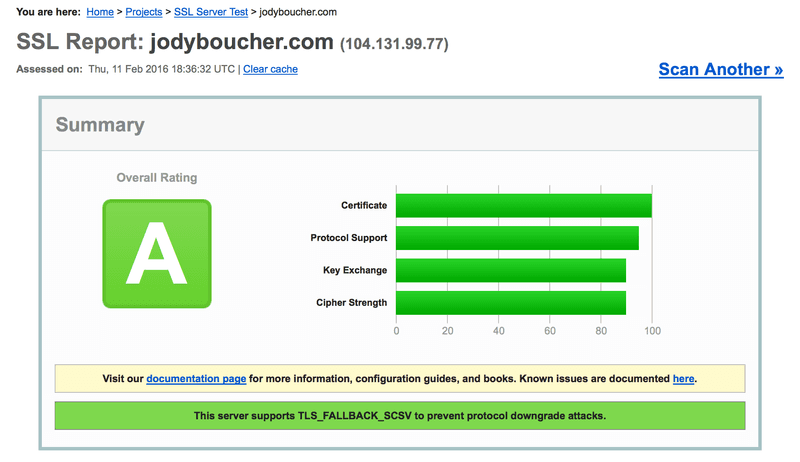
And that's it. The Let's Encrypt client gets the certificate and installs it into Apache. You should test your HTTPS configuration using Qualys SSL Labs server test page as indicated on the last page of the Let's Encrypt client. The SSL Labs report provides lots of great information and will let you know of any weaknesses in your server's SSL configuration and if you vulnerable to a number of potential exploits.
Next up I will cover automating certificate renewal, again using Let's Encrypt.
